Running Custom Linux VMs with the Android Virtualization Framework (AVF)
This note was published on GitHub on August 26, 2025: https://github.com/lfdevs/run-linux-on-android-guide/blob/main/docs/en-US/avf-linux.md
The Android Virtualization Framework (AVF) provides secure and private execution environments for executing code. Android provides a reference implementation of all the components needed to implement AVF. Although AVF is primarily used to provide stronger, even formally verified, isolation assurances over those offered by Android’s app sandbox, it can also be used to run custom Linux virtual machines. This is also demonstrated by the “Linux Development Environment” in Android 15 QPR2 and later.
System Requirements
- Operating System: Android 13 and later
- SoC: Google Tensor, MediaTek Dimensity 9400, Samsung Exynos 2500, and newer SoCs
Due to Qualcomm’s restrictions, the Snapdragon 8 Elite currently only supports protected VMs like Microdroid and cannot run custom Linux VMs that are not signed by Google or the OEM. However, with
rootaccess, you can refer to polygraphene’s guide. You can useadb shellto run the command/apex/com.android.virt/bin/vm run-microdroidto determine if your Android device supports running custom Linux VMs; you may need to connect to the VM’s shell viaadb -s localhost:8000 shellwhen running Microdroid. All steps in this article apply to most Linux distributions; use the corresponding commands for other operating systems.
Headless VMs
Since creating a VM image from scratch is a rather cumbersome process, this section only discusses using the official Debian image made by Google specifically for AVF.
1. Download the Image
Download the latest official Debian image from Google and extract it.
1
2
wget https://dl.google.com/android/ferrochrome/latest/aarch64/images.tar.gz
tar -zxvf images.tar.gz
4K-align the extracted
root_part. Round up the file size ofroot_partto the nearest multiple of 4096 bytes. You can use the following command.1
truncate -s 6442450944 root_part # Resize to 6 GiB
2. (Optional) Modify the Image
You can use chroot to make simple modifications to root_part, such as changing the language or installing/upgrading packages.
Mount the image and special system directories.
1
2
3
4
5
sudo mkdir -p /mnt/debian_vm
sudo mount -o loop root_part /mnt/debian_vm
sudo mount --bind /dev /mnt/debian_vm/dev/
sudo mount --bind /proc /mnt/debian_vm/proc/
sudo mount --bind /sys /mnt/debian_vm/sys/
If the host system is not an
aarch64architecture, you need to useqemu-aarch64-staticfor binary translation. If the host system is a Debian-based distribution, you can use the following commands.1 2 3
sudo apt update sudo apt install -y qemu-user-static binfmt-support sudo cp /usr/bin/qemu-aarch64-static /mnt/debian_vm/usr/bin/
Enter the
chrootenvironment and make your changes.1 2 3 4 5 6 7 8 9 10 11
# Enter the chroot environment sudo chroot /mnt/debian_vm # Configure DNS rm /etc/resolv.conf echo "nameserver 8.8.8.8" | tee /etc/resolv.conf # Upgrade packages apt update && apt upgrade -y # Install new packages as needed apt install -y vim nano wget curl git sysbench locales # Reconfigure locales dpkg-reconfigure locales
Exit the
chrootenvironment and unmount the relevant mount points.1 2 3 4 5 6
exit sudo umount /mnt/debian_vm/sys sudo umount /mnt/debian_vm/proc sudo umount /mnt/debian_vm/dev sudo umount /mnt/debian_vm sudo rmdir /mnt/debian_vm
3. Run the VM
You can modify the
vm_config.jsonfile to configure the VM. For example, to change the amount of RAM allocated to the VM:1
"memory_mib" : 8192
Send the extracted files from
images.tar.gzto your Android device.1 2 3 4 5
adb push vm_config.json /data/local/tmp/ adb push vmlinuz /data/local/tmp/ adb push initrd.img /data/local/tmp/ adb push kernel_extras_part /data/local/tmp/ adb push root_part /data/local/tmp/
Execute the following command inside
adb shellto run the VM.1
/apex/com.android.virt/bin/vm run /data/local/tmp/vm_config.json
Execute the following command inside the VM’s shell to shut it down.
1
shutdown 0
Running a VM with u-boot
1. Download u-boot.bin
Using a web browser, go to the aosp_u-boot-mainline Branch Grid website and select the latest build in the
u-boot_crosvm_aarch64column.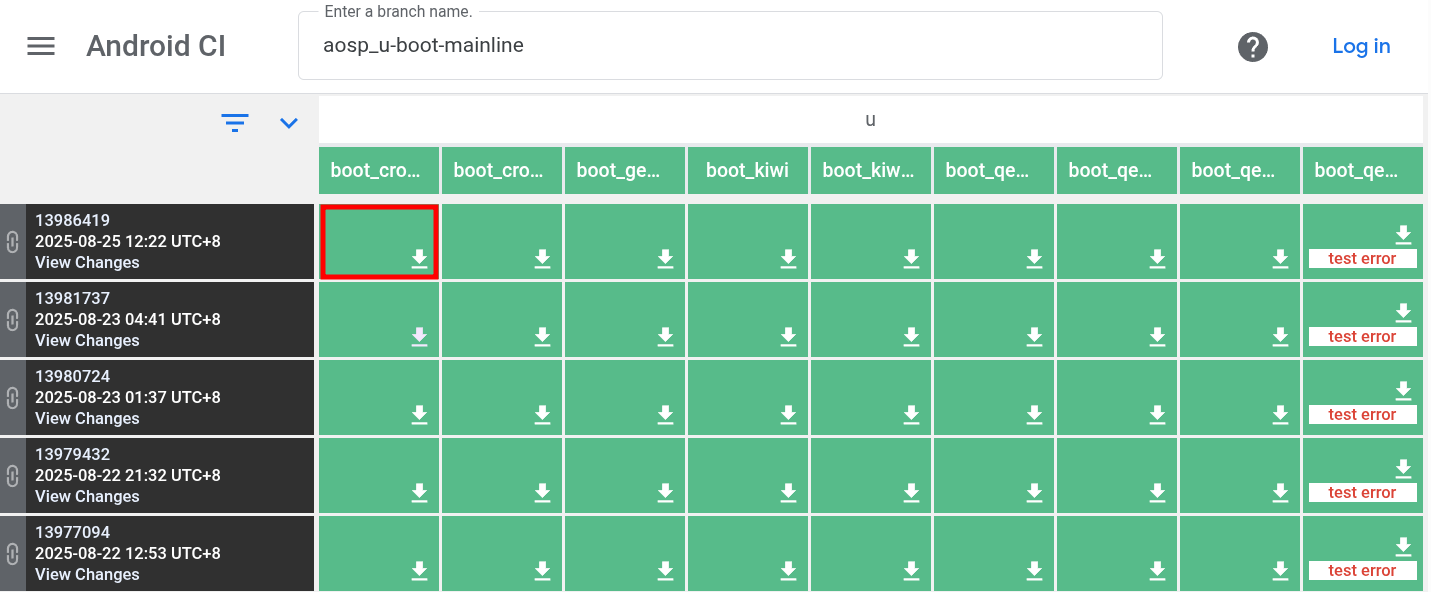
In the new tab that opens, select the
u-boot.binfile, and the browser will automatically download it.
2. Download a Raw Disk Image for a Linux Distribution
The raw disk image used must contain the complete partitions for the Linux system. This article uses the Debian 13 nocloud cloud image, which you can also download yourself from Debian Official Cloud Images.
1
2
3
wget https://cloud.debian.org/images/cloud/trixie/latest/debian-13-nocloud-arm64.tar.xz
tar -xvf debian-13-nocloud-arm64.tar.xz
mv disk.raw debian-13-nocloud-arm64.raw
3. (Optional) Modify the Image
Resize the partition in the image. If the host system is a Debian-based distribution, you can use the following commands.
1
2
3
4
5
6
sudo apt update
sudo apt install -y qemu-utils
qemu-img resize -f raw debian-13-nocloud-arm64.raw 8G
sudo losetup -fP debian-13-nocloud-arm64.raw
# Use an application like KDE Partition Manager or GParted to resize the partition on /dev/loop0 (please determine the loop device number based on your actual setup)
sudo losetup -d /dev/loop0
If the host system is not an
aarch64architecture, you can useqemu-system-aarch64to boot the VM. If the host system is a Debian-based distribution, you can use the following commands.1 2 3 4 5 6 7 8 9 10 11 12 13 14 15 16 17
sudo apt update sudo apt install -y qemu-system qemu-system-aarch64 \ -machine virt \ -cpu cortex-a72 \ -smp 8 \ -m 8192 \ -drive if=none,file=debian-13-nocloud-arm64.raw,format=raw,id=hd0 \ -device virtio-blk-pci,drive=hd0 \ -netdev user,id=net0,hostfwd=tcp::2222-:22 \ -device virtio-net-pci,netdev=net0 \ -device virtio-gpu-pci \ -device qemu-xhci \ -device usb-kbd \ -device usb-tablet \ -display gtk,gl=on \ -bios /usr/share/qemu-efi-aarch64/QEMU_EFI.fd
After the VM boots, you can log in to the root account in QEMU’s
serial0view and make changes.1 2 3 4 5 6
# Upgrade packages apt update && apt upgrade -y # Install new packages as needed apt install -y vim nano wget curl git sysbench locales # Reconfigure locales dpkg-reconfigure locales
4. Run the VM
Write a
u_boot_vm_config.jsonfile to launch the VM. You can use or refer to u_boot_vm_config.json.Send the relevant files to your Android device.
1
2
3
adb push debian-13-nocloud-arm64.raw /data/local/tmp/
adb push u-boot.bin /data/local/tmp/
adb push u_boot_vm_config.json /data/local/tmp/
Execute the following command inside
adb shellto run the VM.1
/apex/com.android.virt/bin/vm run /data/local/tmp/u_boot_vm_config.json
Execute the following command inside the VM’s shell to shut it down.
1
shutdown 0
FAQ
How does the VM connect to the network?
Due to Android’s restrictions, creating a virtual network interface requires root access. If your Android device has root access, you can use setup_network.sh to create a virtual network interface named crosvm_tap for the VM.
Execute
setup_network.shon your Android device.1 2 3 4 5 6
wget https://github.com/lfdevs/run-linux-on-android-guide/raw/refs/heads/main/scripts/avf/setup_network.sh adb push setup_network.sh /data/local/tmp/ adb root adb shell chmod +x /data/local/tmp/setup_network.sh adb shell /data/local/tmp/setup_network.sh adb unrootConfigure a static IP address inside the VM. If you are using Google’s official Debian image or Debian’s official
nocloudcloud image, you can create a new configuration file/etc/systemd/network/20-virtio-net.networkand add the following content.1 2 3 4 5 6 7 8
[Match] Name=eth0 [Network] Address=192.168.1.2/24 Gateway=192.168.1.1 DNS=8.8.8.8 DNS=1.1.1.1
Reload the
systemd-networkdservice to apply the new configuration.1
systemctl restart systemd-networkd
This method is based on this AVF document, and if you encounter any issues or have other solutions, feel free to discuss them in the Issues.
How to use a desktop environment in the VM?
Due to Android’s restrictions, both port forwarding and vsock communication between Android and the VM require root access. However, I do not have a suitable device for testing. If you have any ideas or solutions, feel free to discuss them in the Issues.